Change Location
Search for your location

February 09, 2021
How to Install Kitchen Cabinets Like a Boss
Installing kitchen cabinets yourself may seem like an incredibly difficult task, but it’s actually pretty simple. The process primarily revolves around screwing the cabinets into the walls in a specific order and ensuring that everything is level.Once you’ve gathered the proper materials, it’s as easy as following the steps we’ve outlined for you below. So, if you want to learn how to install kitchen cabinets like a pro, grab your level and read on.
How to Install Kitchen Cabinets Simply and Correctly
Installing kitchen cabinets yourself can save you a lot of money, especially the installation charges. However, it does require the help of a few extra hands or at least a cabinet jack to help you lift your cabinets into the proper position. It’s also important to remember that when installing kitchen cabinets, you’ll want to get the job done before the flooring is installed. This is because all the movement and joining of the cabinets together will likely cause scratches and cracks in your flooring—which can’t be buffed out.So, assuming that you’re working with a pre-assembled selection, here’s how to hang cabinets the right way:Prepare the Space, Gather Your Tools, and Inspect the Pieces
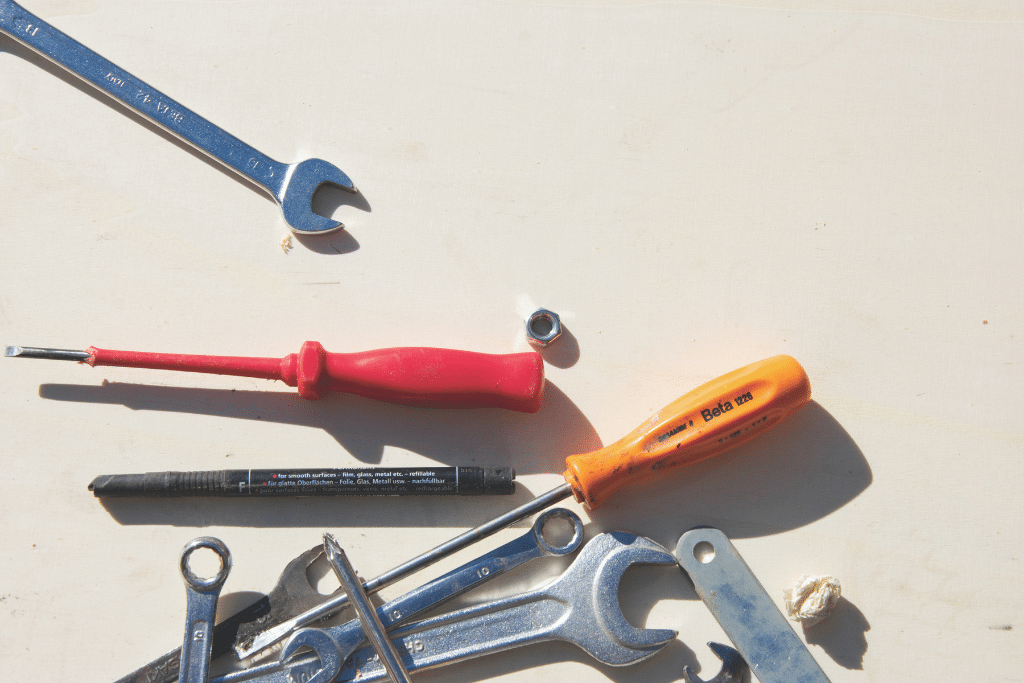 First thing’s first: you need to gather all the tools and hardware you’ll be using for the job. Your kitchen cabinet install tools would include:
- 4-6 ft level
- Impact driver
- Screwdrivers
- Cordless drill/driver
- Utility knife
- Tape measure
- Mounting wall studs, toggle bolts, and 2-inch drywall screws (may or may not come with cabinets)
- A pencil
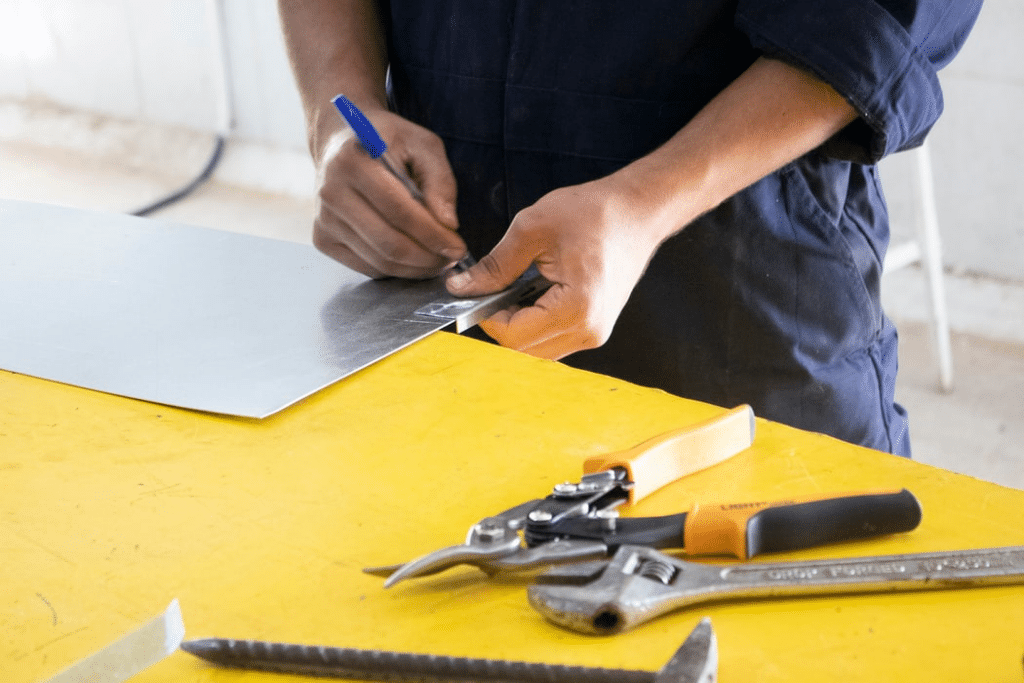
Mark Your Reference Line and High Point Layout Line
 The first official step in installing kitchen cabinets yourself is locating and marketing the highest point on the floor. This will be your reference point, so it’s critical that you get it right.Start by using your level to mark a level reference line on the walls roughly 48 inches from the floor. Use your pencil to mark these lines in multiple places and then measure back down to the floor. Mark the line where your measurement is the shortest—this will be your high point. Directly beneath that line, mark the height of your base cabinets. This measurement is usually about 34 inches from the floor.Take your level and extend a layout line along the walls. The top of your base cabinets should be flush with this line. Then measure roughly 18 inches up from your base cabinet layout line and mark that line for the bottom edge of your upper cabinets. Now you can go ahead and find the studs, marking their locations as well as the locations for all the appliances.
Join Your Upper Cabinets
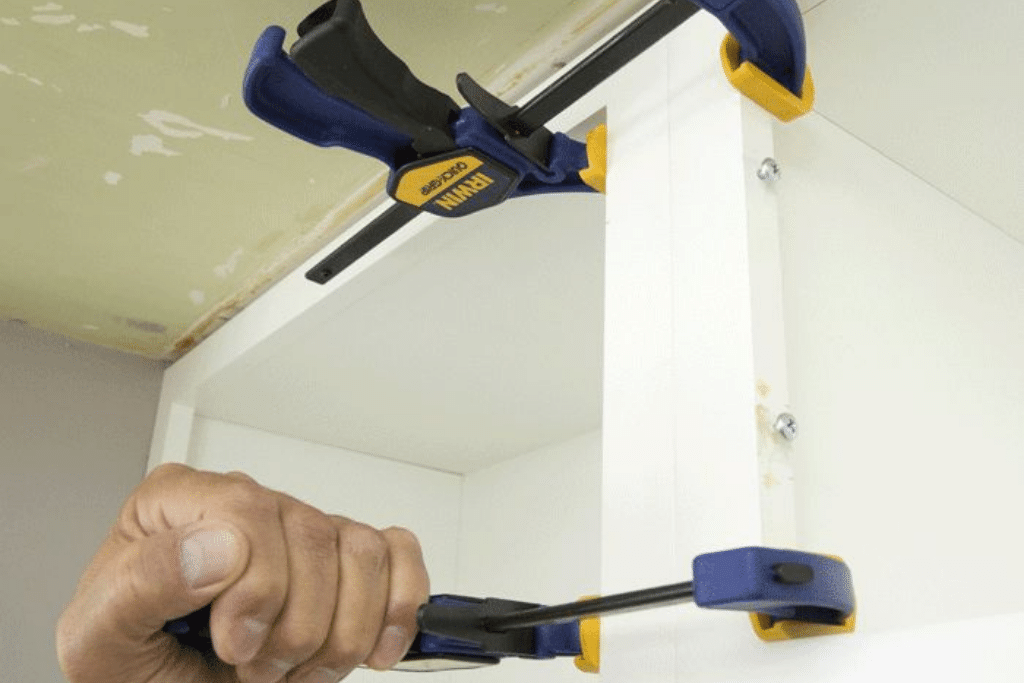 For pre-assembled cabinets, remove the doors, drawers, and shelves to lighten your load. Be sure to label everything so you know where the pieces go later.Just beneath the layout line for your upper cabinets, set up cleats and drive 2-inch drywall screws through them and every other marked stud. Align your cabinets with the face frame of your upper corner cabinet on the floor. Ensuring that everything is flush, clamp them together. Then, drill counter-bored pilot holes through the top and bottom edge of the face frame. Go ahead and drive your 2-inch screws into these holes to hold the cabinets together
Hang Your Upper Cabinets
With the help of an extra set of hands or a cabinet jack, lift your upper cabinet assembly into the corner and rest it on the cleat. Check the cabinet face with your level to make sure it’s flush. Once you’re sure that it’s flush, you can go ahead and drive four screws with washers through the back of the cabinet, top, and bottom, into the studs.Now lift the remaining cabinets onto the cleat, aligning then flush with the corner cabinet. Clamp them to the installed cabinet and screw the edges together. If you notice any gaps between the wall and the end cabinet, you’ll need to scribe its stile or back edge by covering the gap with trim.Mark and Install Your Base Cabinets
 Now you can begin moving your corner base cabinet into position, lifting it up from the floor until its back edge is flush with the layout line. If there are any plumbing lines, you’ll need to mark their locations on the back panel of the cabinets.From there, turn the cabinet around and drill holes through the back. Using a level, check the face of the cabinet to make sure it’s still flush. If it’s not, insert shims between the floor and bottom of the cabinet or the wall and back of the cabinet, at the studs.Next, check that the top of the cabinet is level and add shims if necessary. Once everything is in place you can go ahead and drive your deck screws with washers through the cabinet back and into the studs. At any shim locations, you’ll need to counterbore and fasten the cabinet to the floor with deck screws minus the washers.Once your corner cabinet is installed, you can shim the rest of the cabinets out from the wall at the marked studs and up from the floor. Make sure the face frames are flush and the tops are level with the layout line.Align each cabinet so that it’s flushed with its already-installed neighbor. Clamp them together and counterbore through the edge of each face frame. Fasten them together with your 2-inch drywall screws. At the shims, drive your deck screws with washers through the back of the cabinet and into the studs. Close any necessary gaps by scribing their stiles or back edges, or cover the gaps with trim. Using your utility knife, score and snap off any protruding shims.You can go ahead and remove all your upper-cabinet support cleats and fill the screw holes with spackle.
Install the Doors and Toekick
 Now it’s time to replace the cabinet doors. Make sure that the hinges are adjusted properly so that the doors hang straight (for overlay doors) or that the door is flush with the face frame with an even reveal (for inset doors).Using 1-inch brads, begin fastening the toe kick trim to the base cabinets. Start by fitting the longest piece first, then cut and install your shorter pieces. Fill in any gaps between the trim and the floor by scribing or by brad-nailing a shoe molding to the floor. Be sure to recess the nails using a nail set and cover them with wood putty or a matching color wax stick.
 Now You Know How to Install Kitchen Cabinets
Now that you know how to install kitchen cabinets like a pro, it’s time to finish organizing your kitchen. That’s where we come in. Contact us today to learn more about our practical kitchen and pantry storage solutions.More Ideas and Inspiration


Explore Our Solutions
Click on a section below to explore how ShelfGenie can enhance your home.


What Our Customers Say
It’s amazing how much more room there is!
“We are loving the new storage! It’s amazing how much more room there is. I really didn’t think it would add so much more room, but it did!”Ed & Becky WSmooth as silk with low-pressure sales and creative solutions.
“It took 3 visits -- a sales and design, measure, and install to complete the installation. Every visit was on time and catered to my schedule.”Paula D.Didn’t make me feel like my kitchen should have been cleaner.
“The designer was the best! She was knowledgeable, kind, experienced, and didn’t make me feel like my kitchen should have been cleaner”Melissa L.

Schedule a free, no obligation at-home consultation.
Ready to get started? Select your preferred booking method below, and one of our talented ShelfGenie designers will come to your home and create your custom storage solution.
Your Contact Information